Beauty review: Transforming my over-plucked eyebrows through the miracle of microblading
You know what I really regret? Stealing my Mum’s tweezers when I was about 14 and badly over-plucking (read as: wiping out) my 90s child eyebrows to oblivion… Overnight I went from a potential Gallagher brother with big bushy luscious eyebrows to what looked like a weird line of ants crawling across my brow bone… thin - almost 1920s style eyebrows… (see photo below)

A photo of 14 year old me and my terribly over-plucked 90s brows (circa 1999)
At this point in my life, I did not use brow pencil or powder… in fact… I didn’t even wear much makeup. After all, I was still a mere child! I had… before finding the tweezers and getting carried away… visited a beautician with my cousin to get my brows waxed - once or twice - god knows why I didn’t stick with the professionals… Let that be a lesson to any of you youngsters who are thinking of plucking them to certain death…
Flash forward 20 years… you might be wondering if my eyebrows ever grew back? Well… I guess they did a little… but then after a certain age… maybe late 20s / early 30s… they just seemed to stop growing… in fact… I felt like they were going in reverse and now falling out more regularly?!
A few years back, my mum and aunty - both in their early 50s - had their own almost non-existent eyebrows permanently tattooed. They were both really pleased with the results! Then over the years, I would see more and more friends who had also ventured down the permanent makeup path… Whether that was through a local beautician recommendation or a Harley Street clinic - the results - when done well - really speak for themselves!
FINDING THE RIGHT MICROBLADING ARTIST
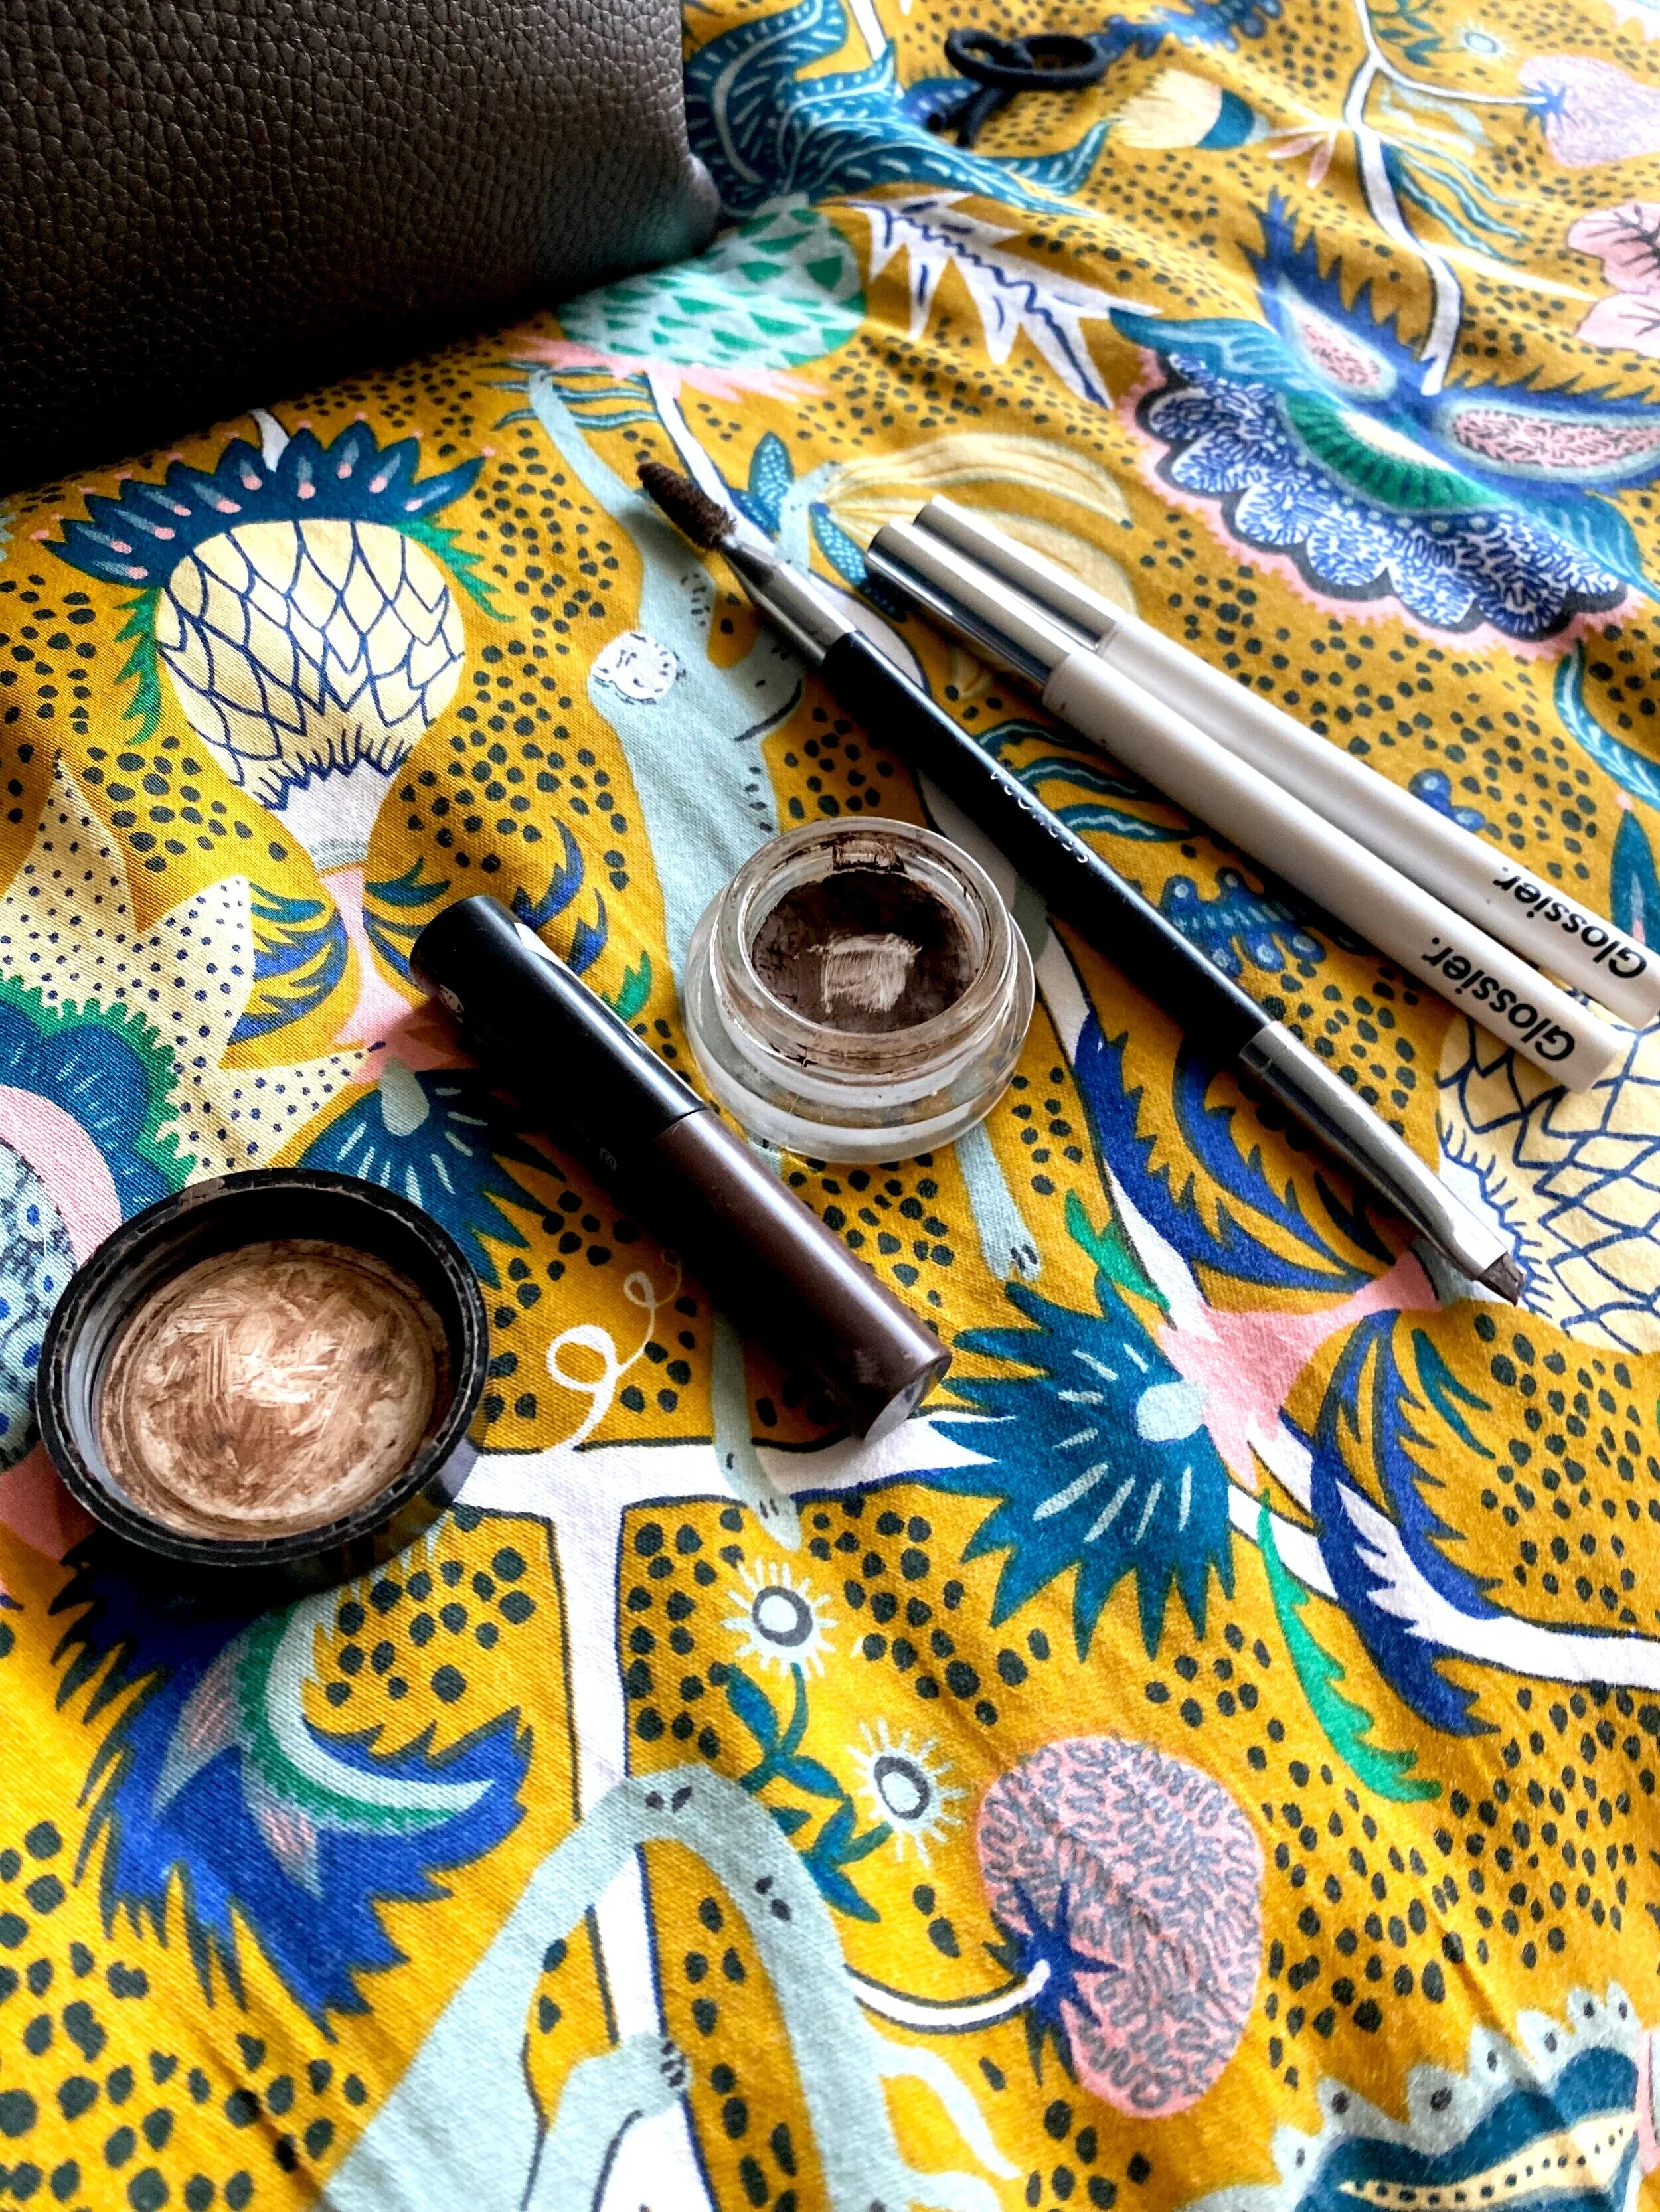
Just a few of the brow tricks and makeup I would use on a daily basis before microblading
I first started looking into finding a microblading artist in Surrey or London about a year or two ago. But, being a little bit nervous about taking the plunge into something so permanent (I mean, I don’t even have any tattoos… yet…) so the concept of putting something on MY FACE that I CAN’T REMOVE - was pretty terrifying! I wanted to do my research - LOTS OF IT - to inform my final decision, when it came to finding the BEST MICROBLADING & PERMANENT MAKEUP ARTIST that I could get my hands on (well, brows…)
During my initial rounds of research, I came across a lot of bloody awful brow before and after pics - permanent brows done baaaaadly! Some that looked almost theatrical in design… I mean… it’s a commitment that you really need to be bought into.
Most of my search for reviews of a great microblading artist near me were done using Google and Google maps - and then scrutinizing their work, to ensure I was happy with the quality. I wanted to avoid travelling into London, where possible, and so looked around the Surrey area to find a decent microblading service near me.

Holly Richards Microblading and Permanent Makeup Artist
It was about 2-years into my renewed search that I stumbled upon the microblading work of Holly Richards Permanent Makeup, based in Sunningdale near Ascot - just a 20 minute drive away from where we live, and I was truly blown away!
TAKE MY MONEY! HOW MUCH SHOULD YOU PAY FOR MICROBLADING?
So… talking about money… you might be wondering how much Microblading - decent Microblading - costs… My treatment will Holly cost £379.40. I paid a deposit of £50 upfront, and the rest after my treatment.
Prior to the treatment, Holly offers a consultation - if needed - to discuss what your brow needs are. She also sends out a patch test kit through the post, to ensure you do not have any adverse reactions. I’d seen an example of a before shot of someone’s brows that she had done which looked pretty similar to the results I was after.
I booked my appointment for 10am - 11:30pm on a Thursday - with a quiet weekend booked in afterwards - just incase my brows looked scabby at all afterwards (spoiler: they didn’t look as bad as I imagined during the healing process at all!)
When I arrived, Holly greeted me at the door - her adorable little sausage dogs pottering along behind her to say hello too - and showed me upstairs to her treatment room. The first part of the session is largely based around the consultation, expectation setting and measurements - so many measurements - to correct any asymmetry and get the brow results you desire through microblading.
Whilst I was a little bit nervous at first, Holly quickly put me at ease with her absolute professionalism and attention to detail - as a microblading and permanent makeup artist - she is a true perfectionist! But then again… you wouldn’t want it any other way, hey!
Below you can see a photo of what my brows looked like before microblading. As you can see, my eyebrows are dark brown / almost black, whereas my hair is dyed ginger (I’ve been a faux redhead for the last 15+ years now). So no need for any tinting… What I did need a lot of, however, is eyebrow mapping…
HOW DO YOU MEASURE UP?
Holly is fastidious when it comes to her measuring and mapping of brows. She works intently, focusing on getting the shape, width, length and fullness the exact proportions to flatter your face. I appreciated her honesty and integrity - particularly when it came to managing my expectations for first-time results.

My overplucked brows BEFORE microblading were misshapen, uneven, thin, and sparse looking.
Holly used her brow mapping measurement app and calipers to measure up the brows and work out how the new shape should look.
My brows are sparse on the tails and completely overplucked towards the middle - more so on one eye than the other. This has meant that every morning for the last 10 years or so, I have been drawing in my eyebrows with a combination of brow pencil, brow wax and powder - to give the impression of a more symmetrical, fuller brow.
DOES MICROBLADING HURT? WILL I BLEED?
Everyone has different reactions, results and tolerance to pain. When it came to getting my brows microbladed, Holly gave me the option to have numbing cream applied - I said “yes, please” - as I’m not insane… Hahaha! In terms of pain - I would say it was about a 6.5 out of 10. With my bikini laser hair removal and leg waxing being on the pain level as a 8/9 out of 10, in comparison.
The weirdest thing about the microblading experience is the strange sensation and sound of the blade as it cuts the shape of the new ‘hairs’ into your brows and skin. It makes tiny scraping sounds, which is a bit odd, but you get used to it and it is over much quicker than you think! Note: avoid any caffeine or alcohol before the treatment - follow all of your therapists pre-treatment advice for best results.
Towards the end of the treatment, Holly asked me to sit up again, so that she could check her work and make any tiny adjustments or enhancements. She also added in some shading, for me, so that my brows would look much more defined and fuller - particularly where I’d lost some of the brow hairs.

My before and after microblading results by Holly Richards
AFTERCARE: HOW DO YOU MAINTAIN YOUR FRESHLY MICROBLADED BROWS?
As she works her magic, Holly continually wipes over the brows as she cuts in the shape and applies the dye to the skin - sometimes you may experience some bleeding - or like me - you may just get some sort of oil/serum which seeps out of the skin. She then applies a balm to the brows, to protect them as they heal and gives you an aftercare kit to use at home for the next 2-weeks, as they heal.
For the first afternoon, I had to wipe my brows around 6 times with the pads provided, before applying a thin layer of the balm to the brows - to seal them in.
I was really lucky as I experienced no scabbing or bleeding during the healing process. It was only around 7-8 days in that my brows started to flake and get a bit itchy, as the skin healed.
Holly mentioned that as brows heal they always go to a really dark bold colour - which some clients absolutely LOVE - and then as the heal they can start to peel and fade. This is why it’s really important for you to book in for a microblading top up, which you will have around 6-8 weeks after your originally treatment.
Any good microblading artist will give you all of the best aftercare treatment advice following your treatment e.g. it’s super important not to touch your brows (apart from when cleansing with the pad and adding the balm), you must also not get them wet during the 2-week healing time period and DO NOT ITCH - UNDER ANY CIRCUMSTANCES - or they could scar and look patchy!
WHAT DID I THINK OF THE MICROBLADING RESULTS? WOULD I RECOMMEND IT?

I am absolutely thrilled with the results of my microblading by Holly Richards. I know that they will look even better after the top up too - but the most profound difference, for me, is the way that correctly mapped and measured brows can really change the look of your face. My eyes feel better framed, I no longer have to spent 10+ mins each morning to draw on my eyebrows, so that time-saving in itself is incredible. I mean, I can now shower, gym, swim, sauna and steam without worrying that my brows will melt and slide down my face! First world problems, eh!?
If you would like to find out more about Holly Richards and book in your own Phi Shading microblading or permanent makeup - get in touch with Holly! You can also find her on Instagram and scroll through lots of her impressive before and after work. If you are interested in training in Microblading yourself, Holly also runs her own academy offering courses in microblading, close to Windsor and Surrey.
Disclaimer: Not an advertisement. Treatment paid for 100% by me.